
Reviewed · BRUGES EXPERIENCES
Handcraft your own silver ring in Bruges
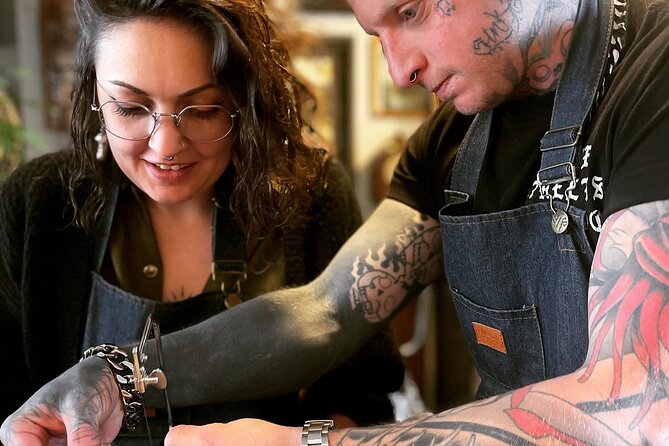
Make a silver ring in Bruges. This 2.5-hour class is practical and creative, with small-group attention from your course leader as you work from raw silver to a wearable band.
I love that you take part in every step, from designing and cutting to hammering, shaping, and finishing, so the result feels earned. You’ll also add a personal stamp inside the ring, using hand stamps to inscribe a date, name, or phrase.
The only real consideration is that this is a workshop. You’ll be using tools and working with hot processes like soldering, so come ready with closed-toe shoes and a willingness to get involved.
In This Review
- Key highlights to look for
- Handcrafting Your Own Sterling Silver Ring, Right in Bruges
- The Small-Group Magic: Real Help, Not Passive Watching
- Start With Your Ring Design: Choosing Shape and Style
- Hammering and Shaping: Turning Flat Silver Into a Ring
- Soldering the Band: The Moment It Becomes One Piece
- Getting the Fit Right, With Help When You Need It
- Add Meaning With Inside Stamps: Names, Dates, and Phrases
- Texture and Finish Choices: Polished, Satin, or Rough Forged
- Value for Money: What You Actually Get for $210.84
- What to Wear and How to Prep for Workshop Time
- Should You Book This Ring Workshop in Bruges?
- FAQ
- How long is the silver ring workshop in Bruges?
- Where does the workshop meet in Bruges?
- Is the tour offered in English?
- How many people are in the group?
- Will I take home the ring I make?
- Can I personalize the ring with a message?
- What should I wear to the workshop?
- Is this class suitable for children?
- Are service animals allowed?
- What is the cancellation policy?
Key highlights to look for
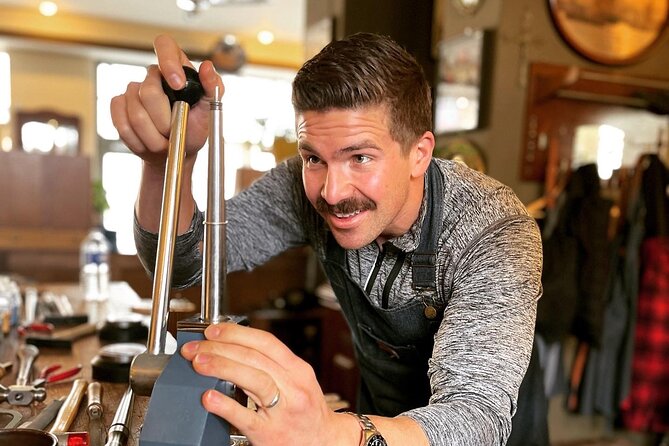
- Max 8 people, lots of hands-on help so you are not left to figure things out alone.
- Sizing support from your course leader helps you refine the fit and shape.
- Inside inscription with hand stamps lets you add a date, name, or short message.
- You hammer, form, solder, and finish the ring yourself, step by step.
- Pick your final look with polished, satin, or a rough forged style.
A few more Bruges afternoons to weigh up
- Bruges: Small Group Boat Cruise and Guided Walking Tour
★ 4.8 · 4,102 reviews - Bruges: Guided Tour & Boat Ride with Optional Beer Tasting
★ 4.4 · 3,894 reviews - Historical Walking Tour: Legends of Bruges
★ 5.0 · 2,541 reviews - Bruges: Choco-Story Museum with Audio Guide and Tastings
★ 4.2 · 1,825 reviews - From Bruges: Great War Flanders Fields Minibus Tour w/ Lunch
★ 4.9 · 1,257 reviews
Handcrafting Your Own Sterling Silver Ring, Right in Bruges
Bruges has plenty of shops selling jewelry. This experience is different. You do not just buy a ring, you make one. And when you spend two and a half hours turning a piece of silver into something personal, it becomes a memory you can wear instead of something that sits in a drawer.
You start in a workshop on Langestraat 50, Brugge. The whole class runs in English and you get a mobile ticket. That matters more than it sounds when you are sightseeing, because you can keep things simple and move through the city without juggling printouts or paperwork.
Also, the group size is capped at 8 travelers. In practice, that creates a calmer pace and gives your course leader room to help you properly while you are working.
The Small-Group Magic: Real Help, Not Passive Watching
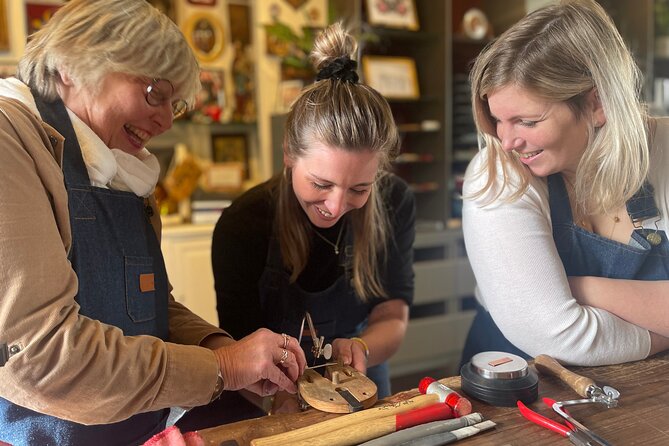
A lot of craft classes can feel like a demo with a quick try at the end. Here, the format is built around small-group guidance. You work alongside a handful of other people, and the course leader stays engaged as you go.
That attention shows up most during the parts where mistakes are easiest. Measuring your ring size and shaping the band are exactly the steps where being alone would be stressful. Instead, you get guidance as you decide which finger it is for, then you move through measuring and cutting.
It also helps that the class is structured in clear stages. You do not jump randomly from task to task. You design, size, personalize, form, solder, check fit, then finish. That step-by-step flow keeps you focused, especially if you are doing this kind of craft for the first time.
And yes, you get a chance to socialize. There is something naturally friendly about working on the same kind of project with people who are curious and excited. It turns a workshop into a small shared activity, not a solo grind.
Start With Your Ring Design: Choosing Shape and Style
Your first task is design. You begin by choosing the shape and style of your ring, and you explore options so the band matches your idea of what you want to wear.
This matters because a ring is not just metal. It is silhouette, proportions, and comfort. Even if you are not a jewelry expert, picking a basic style and shape sets you up for a final result that looks like you meant it that way.
Next comes sizing and cutting. You decide which finger the ring is for, then you measure and cut the sterling silver to fit. The class is set up so you are actively involved in these decisions, not just following a template.
A smart way to use this stage is to think about how you actually wear rings. Do you like a snug feel or a slightly looser band? Do you prefer a simple look or a more textured vibe? The class gives you enough structure to make decisions, but you still get the fun part, it becomes your ring.
Hammering and Shaping: Turning Flat Silver Into a Ring
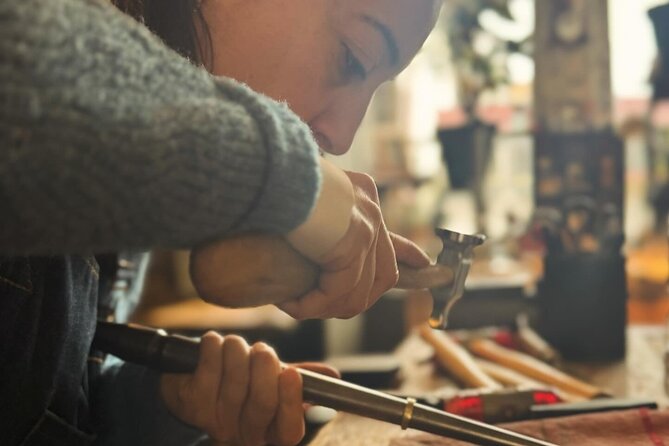
After your design and size are set, you move into formation. You will use mallets and a triblet to roughly shape the ring.
This is one of the most satisfying parts of the experience because it makes the transformation obvious. You go from flat, manageable material to something that starts reading as a ring almost immediately. And once you see that shape take form, you can feel the momentum carry you through the more technical step.
You do not have to pretend you are a professional. The course leader helps refine what you make. The idea is not for you to be perfect on your first try, it is for you to end with a ring that feels right and looks intentional.
One more benefit of the “hands doing the work” style: it keeps the experience lively. You are always working on something physical, so it feels like a real activity rather than an extended chat.
Still got an afternoon? Try these:
Soldering the Band: The Moment It Becomes One Piece
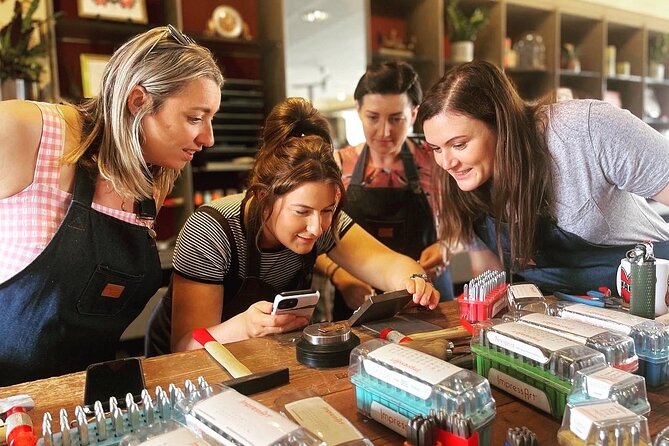
Then comes soldering, and this is where the class shows its practical side. The course leader demonstrates how to heat and solder the silver, joining the ends to create the ring.
Even if you only watch for a moment at first, it is still a key learning point. Rings are held together by joined metal, and soldering is the step that turns your shaped band into a finished structure. It is also a step where instruction helps a lot, because heat and joining need care.
From your perspective as a participant, the value is that you understand what you are making. When you later wear the ring, you remember the exact stage where it became complete.
Getting the Fit Right, With Help When You Need It
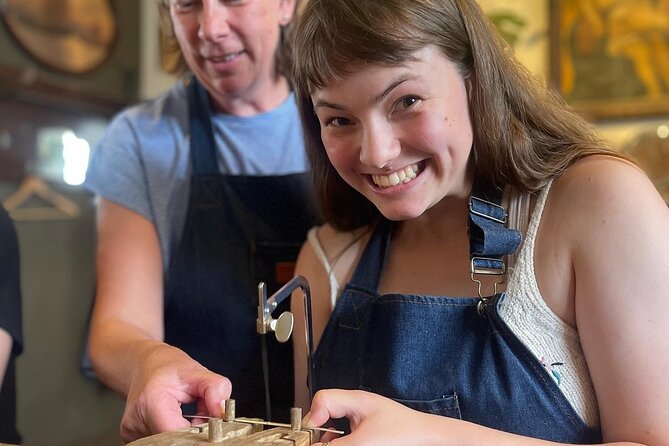
After soldering, you check the fit. You work with your course leader to ensure a comfortable fit, and you refine the shape into a more perfect ring.
This is where the class really reduces the usual risk of DIY. A home craft project can end with a ring that looks close but does not feel right. In a guided workshop, you get a second set of eyes at the point where comfort matters.
This also makes the experience less about trying to be precise immediately and more about learning what to adjust. You are not just building an object, you are learning how to evaluate fit and shape.
It is a relief for first-timers. You get to participate without the dread of messing up something you cannot easily fix.
Add Meaning With Inside Stamps: Names, Dates, and Phrases
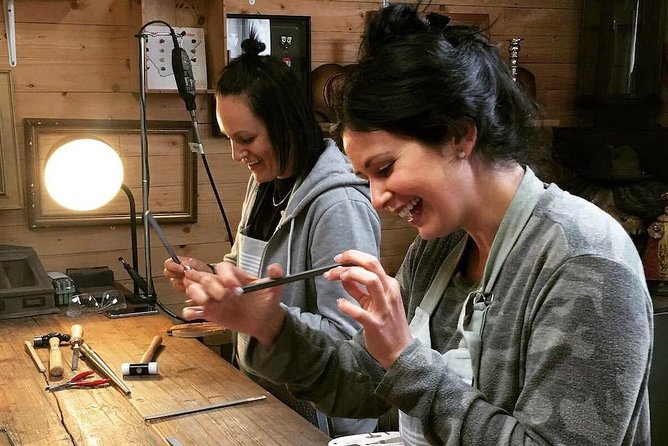
Here is the part you will likely talk about long after you leave the workshop: personalization.
You choose hand stamps to inscribe a message on the inside of your ring. That can be a name, a date, or even a favorite phrase. The inside placement is a nice touch because it is private meaning. It also keeps the message protected from daily wear on the outer surface.
This is one of the most highly praised aspects of the experience for a reason. A ring is already a personal item. Adding your own text turns it into a souvenir with a story attached.
When you pick what to stamp, think small and memorable. A short message can be easier to read and look cleaner inside the band. If you are going as a couple, you might match a shared date, like an anniversary or the day you arrived. If you are going with friends, pick something that fits each person’s style and personality.
Also, because you are working with hand stamps, your involvement is direct. You are not handing the concept to someone else and hoping it comes out right. You help make it.
Texture and Finish Choices: Polished, Satin, or Rough Forged
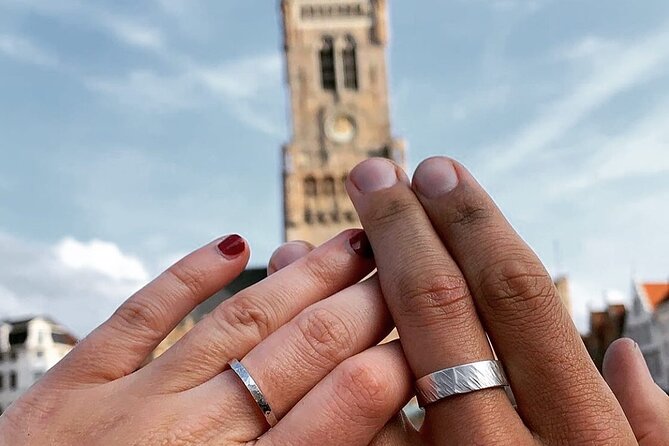
Once the shape and inscription are done, you finish the ring. You get to choose a look that matches your style, including polished, satin, or a rough forged look.
This is more than cosmetic. Finish changes how the ring reflects light. It also affects the feel of the surface in daily wear. A polished finish reads brighter and smoother. Satin tends to look refined without going full mirror. A rough forged look offers character and a more rustic vibe.
If you are unsure, treat it like choosing a shirt texture, not a life decision. Pick the finish that matches the jewelry you already wear. If you normally go sleek and minimal, polished or satin will likely fit your taste. If you like artisanal materials and hand-made character, rough forged is a good match.
Either way, the class ends with you leaving with a sterling silver ring made by you in the heart of Bruges, not a generic product pulled from a display.
Value for Money: What You Actually Get for $210.84
At $210.84 per person, this is not a cheap souvenir. But it is not just a crafted item either. You are paying for time, instruction, and a structured process that gets you from blank silver to a finished ring.
Think about what that includes:
- A small group setting that supports personal help
- Step-by-step guidance for design, sizing, shaping, soldering, and finishing
- The ability to customize your ring with inside hand stamps
- A take-home sterling silver ring that reflects your choices
If you tried to recreate this at home, you would still need tools, materials, and experience. For many visitors, the real value is outsourcing the learning curve while still keeping control of the creative choices.
Is it worth it if you mostly want photos and quick browsing? Probably not. This experience is for people who enjoy doing. If that sounds like you, the cost can feel fair because you are paying for an outcome plus the process that gets you there.
What to Wear and How to Prep for Workshop Time
Plan around the practical side. The class asks you to wear closed-toe shoes, no sandals or flip flops. That is not just about rules. Workshop work involves tools and a work area, and closed-toe shoes protect your feet.
Most travelers can participate, which is encouraging if you are not sure if you count as “crafty.” The workshop also allows service animals and is animal friendly, so you should feel comfortable planning your visit.
For families, it is recommended for children aged 10+. Parents decide if the child can participate, which is the right approach for a tool-based activity. If you are traveling with kids, bring patience and expect a more careful pace, especially during steps like soldering.
Finally, because the experience is 2 hours 30 minutes, it is easy to fit into a day in Bruges, as long as you do not schedule a museum sprint right after.
Should You Book This Ring Workshop in Bruges?
Book it if you want a hands-on Bruges memory that you will actually wear. This is a great fit for couples, small groups of friends, and anyone who likes making things with their own hands. The small-group format and the fit help mean you are not set up to fail, even if it is your first time working with metal.
Skip it if you are short on time, dislike active workshops, or prefer to spend your trip purely on sightseeing and shopping. Also, if you have mobility or comfort limitations around using tools and standing for a while, double-check with the provider before committing.
If you are on the fence, think about the souvenir you usually buy. A ring you personally shape, solder, and finish is a different category. In Bruges, that kind of story is hard to beat.
FAQ
How long is the silver ring workshop in Bruges?
The class runs about 2 hours 30 minutes.
Where does the workshop meet in Bruges?
The meeting point is Langestraat 50, 8000 Brugge, Belgium.
Is the tour offered in English?
Yes, the experience is offered in English.
How many people are in the group?
The workshop has a maximum of 8 travelers.
Will I take home the ring I make?
Yes, you will make a sterling silver ring to keep, handmade in Bruges.
Can I personalize the ring with a message?
Yes, you can inscribe a custom message using hand stamps, such as a name, date, or phrase.
What should I wear to the workshop?
Wear closed-toe shoes. The guidance says no sandals or flip flops.
Is this class suitable for children?
It is advised for children aged 10+ based on the parent’s discretion.
Are service animals allowed?
Yes, service animals are allowed.
What is the cancellation policy?
Free cancellation is available. You can cancel up to 24 hours in advance of the experience for a full refund.
Latest from Bruges


Bruges Experiences, compared.
Small Group Boat Cruise and Guided Walking Tour
Read our review →
Guided Tour & Boat Ride with Optional Beer Tasting
Read our review →
Choco-Story Museum with Audio Guide and Tastings
Read our review →
Great War Flanders Fields Minibus Tour w/ Lunch
Read our review →

Round-Trip Shuttle Service from Zeebrugge to Bruges
Read our review →
Belgian Waffle-Making Workshop with Beer Tasting
Read our review →Browse the lists this tour appears in